
Can You Paint Over a Drywall Patch? How to Make It Disappear
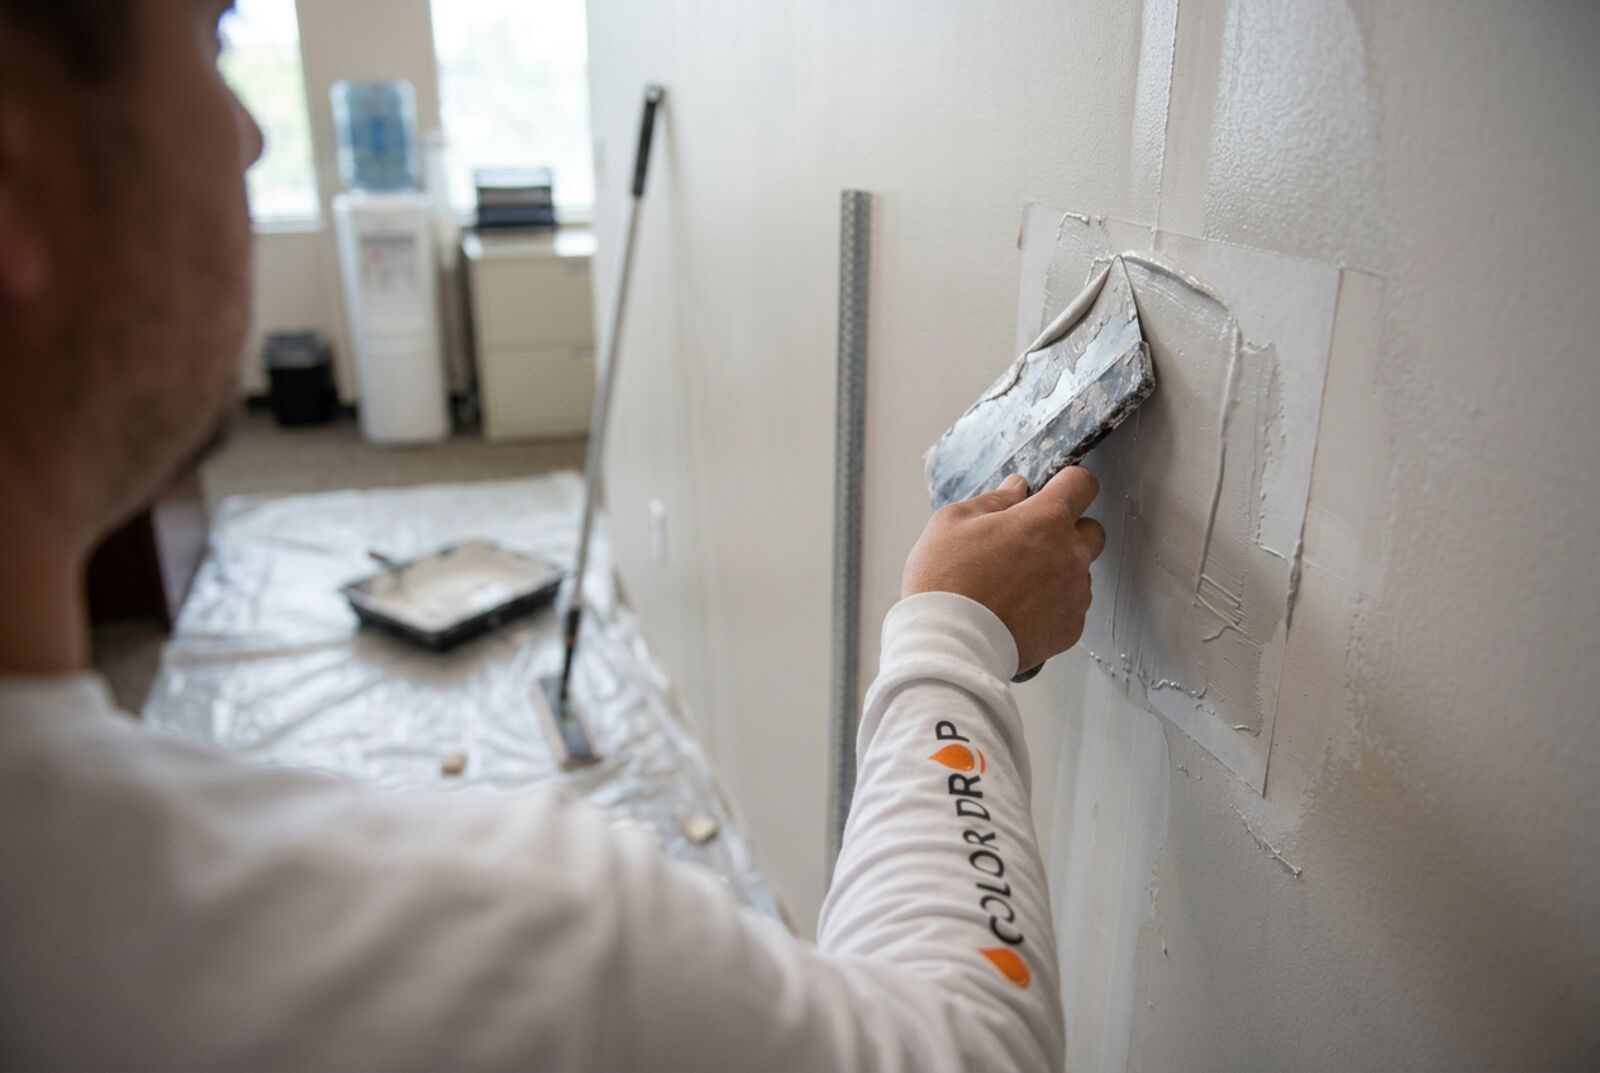
Yes, you can paint over a drywall patch, but if you paint straight over raw spackle or joint compound, you'll almost always still see it. Patching material soaks up paint differently than the painted wall around it, so the repair dries as a dull or shiny spot, even when the paint came from the original can.
A patch disappears when it's fully dry, sanded flat, free of dust, primed, and then painted in a way that blends into the rest of the wall. This guide covers each step, explains why patches show through in the first place, and shows how to fix one that's already been painted and still stands out.
Yes, You Can Paint Over a Drywall Patch (The Quick Version)
To paint over a drywall patch so it doesn't show, follow this sequence:
- Let the patch dry completely.
- Sand it flat and feather the edges into the wall.
- Wipe off all dust with a damp cloth.
- Prime the patch and a little beyond it.
- Paint two thin coats with a roller, not a brush.
- Blend outward or repaint to the nearest corner so the edge disappears.
Each step matters. Skip one, and the patch usually shows.
Why Drywall Patches Show Through Paint
Drywall patches show through paint for three reasons: the patch absorbs paint differently, the surface isn't flat, or the finish doesn't match. Almost every visible patch comes down to one of these.
1. Porosity (flashing). Joint compound and spackle are far more porous than painted drywall. When paint goes directly onto them, the patch soaks up more of the paint's binder. That changes how the paint dries, leaving a dull spot, a shiny spot, or a faint rectangle or "halo" that shows when light hits the wall at an angle. Painters call this flashing. It's the most common reason a patch stays visible, and primer is what prevents it.
2. Surface (bumps and edges). A patch that sits slightly proud of the wall, or has a hard edge where the compound stops, casts a tiny shadow under side light. No amount of paint hides it. The fix is sanding flat and feathering the compound wider than the damage so the transition is gradual.
3. Finish (color, sheen, and texture). Even with perfect prep, the repair shows if the touch-up paint doesn't match. Wall paint fades and changes as it ages, so "the exact same color" from a can that's been sitting for four years often won't match the wall anymore. A different sheen reflects light differently, and a smooth patch on a textured wall stands out no matter how well it's painted.
In short: porous compound leads to uneven paint absorption, which leads to a different sheen, which leads to a visible patch. Surface and finish problems add to it.
How to Prepare a Drywall Patch for Painting
Preparing a drywall patch for paint takes about six steps, and they decide whether the repair shows.
- Confirm the patch is fully dry. Compound that's still damp underneath will shrink, crack, or bubble under paint. (Timing is covered below.)
- Sand it flat. Use a sanding block or sponge, starting around 120 to 150 grit and finishing finer. Keep the block flat so you don't dig a dip into the patch.
- Feather the edges. The compound should taper out gradually over several inches beyond the repair, with no hard line where it stops.
- Remove all the dust. Wipe the patch and surrounding wall with a damp cloth, or vacuum with a brush attachment. Paint and primer won't bond well to sanding dust.
- Check it with a flashlight. Hold a flashlight flat against the wall so the light rakes across the patch. Any bump, ridge, or low spot throws a shadow.
- Fix low spots and re-sand. Fill any dips with a thin skim of compound, let it dry, and sand again. It's much easier to fix now than after painting.
Do You Need to Prime a Drywall Patch?
Yes, you should prime a drywall patch before painting it in almost every case. Primer seals the porous compound so the finish paint dries evenly over the patch and the surrounding wall. Skipping it is the most common reason a repair shows up as a dull or shiny spot.
Use the right primer for the situation:
- Drywall primer or primer-sealer for most patches
- PVA primer for large areas of bare new drywall
- Stain-blocking primer if the patch covers a water stain, so the stain doesn't bleed back through
Prime slightly past the patch onto the surrounding painted wall so the sealed area blends at its edges. When painters handle a repair, primer over all new mud is a standard step, not an extra.
Each product in a drywall repair has a different job:
| Product | Its job |
|---|---|
| Joint compound or spackle | Fills and levels the damage |
| Sandpaper | Smooths the repair flat |
| Primer | Seals the porous patch so paint dries evenly |
| Wall paint | Provides the final color and sheen |
A "paint and primer in one" product can work on painted surfaces, but a dedicated primer seals raw compound more reliably.
How to Paint Over a Drywall Patch
Paint over a primed drywall patch with a roller, in thin coats, working from the patch outward. Here's how:
- Use a roller, not a brush. Most walls are rolled, which leaves a light stipple texture. A brushed patch on a rolled wall looks smoother and shows.
- Match the roller nap. Use the same nap as the original paint job, often a 3/8-inch nap on smooth walls or slightly thicker on textured ones, so the stipple matches.
- Start on the patch and feather outward. Roll the patch first, then work outward with a lightly loaded roller, easing off the pressure as you go so the edge fades rather than stopping sharply.
- Apply two thin coats. Let the first dry fully before the second. Thin coats blend. Heavy coats leave ridges.
- Paint to a natural break when you can. Stopping at a corner, ceiling line, or trim edge hides the transition far better than stopping mid-wall.
- Keep a wet edge. Dry air shortens how long paint stays workable. In a Las Vegas home with the AC running, work in smaller sections so you're always rolling into wet paint.
How to Blend a Drywall Patch Without Painting the Whole Wall
You can sometimes touch up a drywall patch without repainting the whole wall, but only when the conditions are right.
A spot touch-up can work when:
- The patch is small, like a nail hole or small anchor hole
- You have the original paint, and the wall was painted recently
- The wall paint hasn't faded or discolored
- The sheen is flat or matte, which hides touch-ups best
- The patch has been primed and feathered properly
Painting the whole wall is better when:
- The original paint is unavailable or years old
- The wall has faded or yellowed
- The sheen is eggshell, satin, or semi-gloss
- The patch is large, or there are several patches
- Earlier touch-ups are already visible
When the whole wall needs repainting anyway, it's often worth doing the room. Walls that are next to each other age at the same rate, and a freshly painted wall can make the rest of the room look tired. That's usually the point where homeowners choose a full interior repaint. Property managers dealing with many small patches after a move-out usually fold repainting into their unit turns for the same reason.
Does Wall Texture Affect the Repair?
Yes, wall texture has a big effect on whether a patch shows. A perfectly primed and painted patch still stands out if its surface doesn't match the wall around it.
Smooth walls are the least forgiving of bumps. Everything depends on sanding flat and feathering wide, because even a slight ridge shows under light from a window.
Textured walls need the texture recreated on the patch before priming. Most Las Vegas-area homes have orange peel or knockdown texture on the walls, and sometimes popcorn on older ceilings. Spray-can texture works for small patches, and a hopper gun is better for larger areas. Practice on a piece of cardboard first, since how thick the texture comes out depends on the spray distance and the mix. Let the texture dry, then prime and paint.
What Paint Sheen Should You Use Over a Patch?
Use the same sheen that's already on the wall. A different sheen reflects light differently and makes the repair obvious even when the color matches.
- Flat or matte hides patches and touch-ups best, and is common on builder-grade walls.
- Eggshell is the most popular living-area sheen but shows touch-ups more.
- Satin shows patches and roller marks noticeably.
- Semi-gloss shows every imperfection, which is why touch-ups on trim and doors almost always need a full repaint of the piece.
If you're not sure what's on the wall, test the touch-up paint on an out-of-the-way spot, let it dry fully, and check it from an angle before painting the patch.
How Long After Patching Drywall Can You Paint?
How long to wait before painting a drywall patch depends on the compound, how thick you applied it, and the room's temperature, humidity, and airflow. There isn't one universal time, so the product label always wins.
As a general guide:
- Lightweight spackle on small holes is often ready to sand and prime within a few hours.
- Premixed joint compound usually needs about a day per coat, and longer on thick fills.
- Setting-type compound (sold as powder you mix, labeled with a set time such as 20 or 45 minutes) hardens by chemical reaction on its listed time, but it still needs to dry before painting.
A patch is ready when it's an even, lighter color all the way across, feels hard, and isn't cool to the touch. A darker center or a cool spot means moisture is still inside. Dry desert air speeds up drying, but thick fills still need time to dry through, not just on the surface. Let the primer dry per its label before the finish coat, too.
How Many Coats Over a Drywall Patch?
Plan on one coat of primer and two thin coats of finish paint over a drywall patch. Large or very porous repairs sometimes need a second coat of primer.
More paint isn't the fix for a patch that shows. Extra coats won't flatten a bump, and they won't stop flashing on an unprimed patch. If the repair still shows after two finish coats, go back to prep or primer.
Why Is My Paint Bubbling Over the Patch?
Paint usually bubbles over a drywall patch because of dust, moisture, or contamination under it.
Dust left on the patch. Sanding dust keeps paint from bonding, and the paint lifts in blisters.
Compound that wasn't fully dry. Moisture trapped in the patch pushes the paint up as it escapes.
No primer. Raw compound pulls water out of fresh paint quickly, which can cause bubbling and poor adhesion.
Contamination. Bathroom walls collect soap residue, hairspray, and skin oils. Clean the area with a mild degreaser, rinse, and let it dry before priming.
Latex over oil-based paint. Water-based paint won't bond well to old oil-based paint without sanding and a bonding primer. It's more common on trim and in older homes.
How to Fix a Drywall Patch That Still Shows After Painting
You can fix a drywall patch that still shows through paint, but first figure out why it shows. Look at it two ways: with a flashlight held flat against the wall (for bumps and edges), and from an angle across the room (for shine and color).
| What you see | Likely cause | How to fix it |
|---|---|---|
| A bump or ridge in side light | Patch not sanded flat or feathered | Sand back, skim a thin coat wider, sand, prime, repaint |
| A dull or shiny rectangle | Flashing from unprimed compound | Spot-prime the patch and repaint a wider area |
| A slightly different color | Aged or faded wall paint | Repaint the wall to the nearest corner |
| A different shine | Sheen mismatch | Repaint the wall in the correct sheen |
| A smooth spot on a textured wall | Texture not recreated | Re-texture, let dry, prime, repaint |
| Bubbles or peeling | Dust, moisture, or contamination | Scrape, sand, clean, prime, repaint |
A patch that's already been painted over is also the moment many homeowners hand the job off, since sanding back, re-texturing, and repainting a whole wall is more than the original touch-up. Professional drywall repair and painting covers the full sequence, from cutting back damage to repainting to a natural break.